Ok, you already have at least 1 PC Charge (Server + Client) installed and trying to add additional licenses to your setup. To begin accepting credit cards with the PC Charge, you'll need a PC Charge server.
To add additional stations without the expensive PC Charge Server, you'll add a PC Charge client instead. Each workstation will use 1 PC Charge license (Server or Client) to achieve this, and each station will use a username (e.g. "User1" will be used by the server). Each additional user will be added when PC Charge Client is added, and they will be named "User2", "User3", "User4" and etc. The PC Charge clients will be submitting the transactions through the PC Charge server, so the server has to be up and running in order for the clients to function correctly.
1. Download the Client Software - Once you purchase the PC Charge software, you'll have to pick the software version of the PC Charge server and you'll get a link from Verifone to download the client software. You'll have to provide the email address of your server installation to get the download link.
2. Before you begin, you'll have to know the name (or IP address) of the PC Charge Server and where the software is installed. You'll also have to SHARE the PC Charge Server installation. For the PC Charge Payment Server, the default location of the server installation is "Program Files\Active Charge".
3. Once you start the client software installation, you'll be prompted to accept the software license agreement. Please hit NEXT to accept and proceed to the next screen.
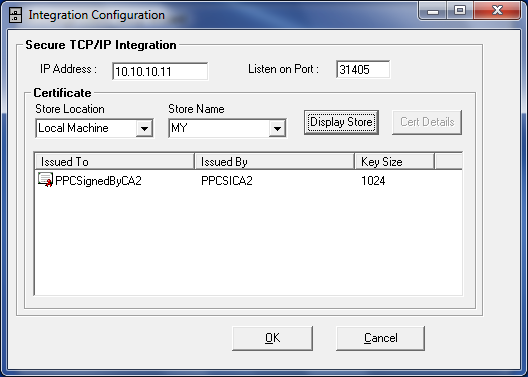
4. Integration Configuration - On the next screen, you'll be asked to enter the IP Address and Listening Port of the PC Charge server. Also, you'll have to pick Store Location and Store Name. See the screen below for correct values. The Server IP address has to be your own IP address. Upon clicking on the Display Store button, the PPCSignedByCA2 certificate will be shown below.
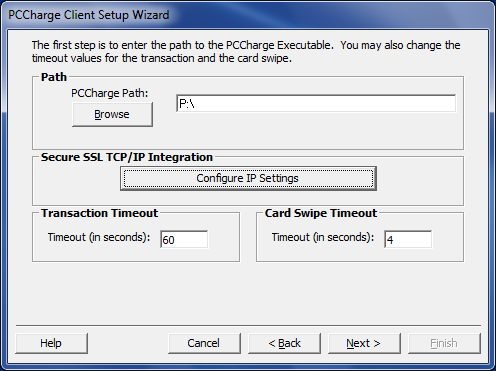
5. On the next screen, you'll have to enter the location of the Server Path. If you can browse the server location, pick the pah where ActiveCharge.exe is located. Otherwise, you may have to map the drive. Then, click on the "Configure IP Settings" button. On the Configure IP Settings screen -> Certificate section, choose "Local Machine", "My" and click Display Store. Doing so should bring PPCSignedByCA2 or a similar certificate, if not you'll have to download and install the Certificate from Verifone Support. On the homepage, click "PC Software", and then click on the "PCC Charge SSL Certificate Installed..." download link. Download the file, and install it.
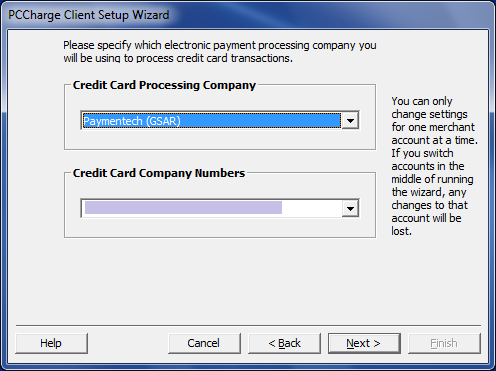
6. On the next screen, you'll have to pick your Credit Card Processing company. The company number will be retrieved from the server.
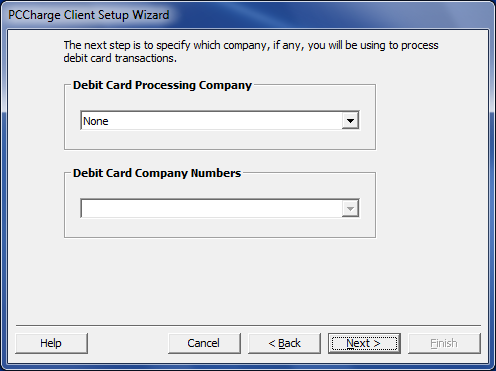
7. If your company accepts Debit cards, you'll have to pick a Debit Card Processing company.
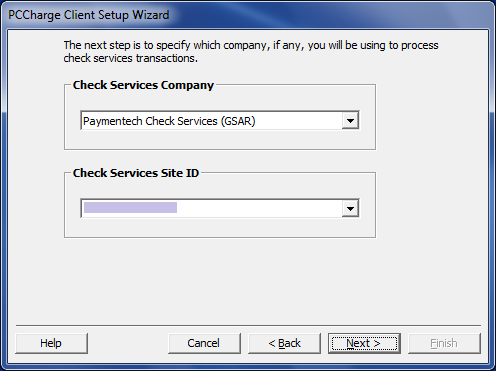
8. Similarly, you'll pick a Check Processing company if you are accepting eChecks.
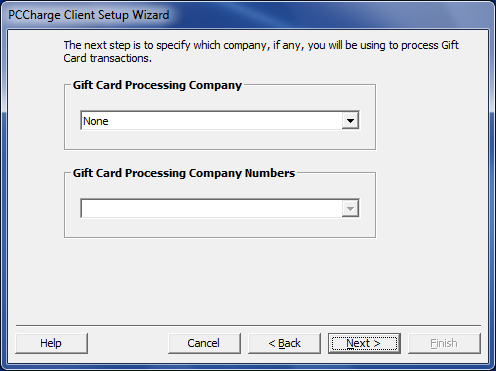
9. If you are also accepting Gift Cards, choose the Gift Card Processing Company.
10. You're nearly done with the PC Charge installation.
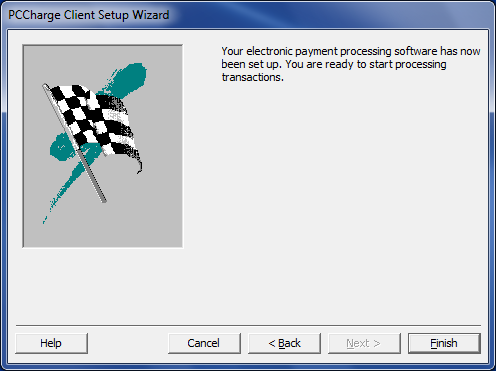
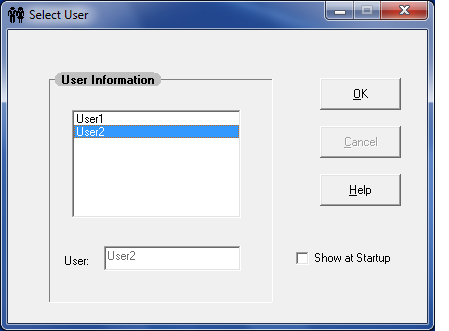
11. Once PC Charge installation is complete, you'll be prompted to pick the licensed User, i.e. "User1", or "User2" and so on.
Share this post
Leave a comment
All comments are moderated. Spammy and bot submitted comments are deleted. Please submit the comments that are helpful to others, and we'll approve your comments. A comment that includes outbound link will only be approved if the content is relevant to the topic, and has some value to our readers.
Comments (0)
No comment